Installing Tab Tape in Your Paper Counting Machine
Swapping out tab tape shouldn't bottleneck a production run. But threading it wrong guarantees jammed tracks or missed batch marks. Here is the most direct way to load a new roll, reset the sensor, and get the machine back online.

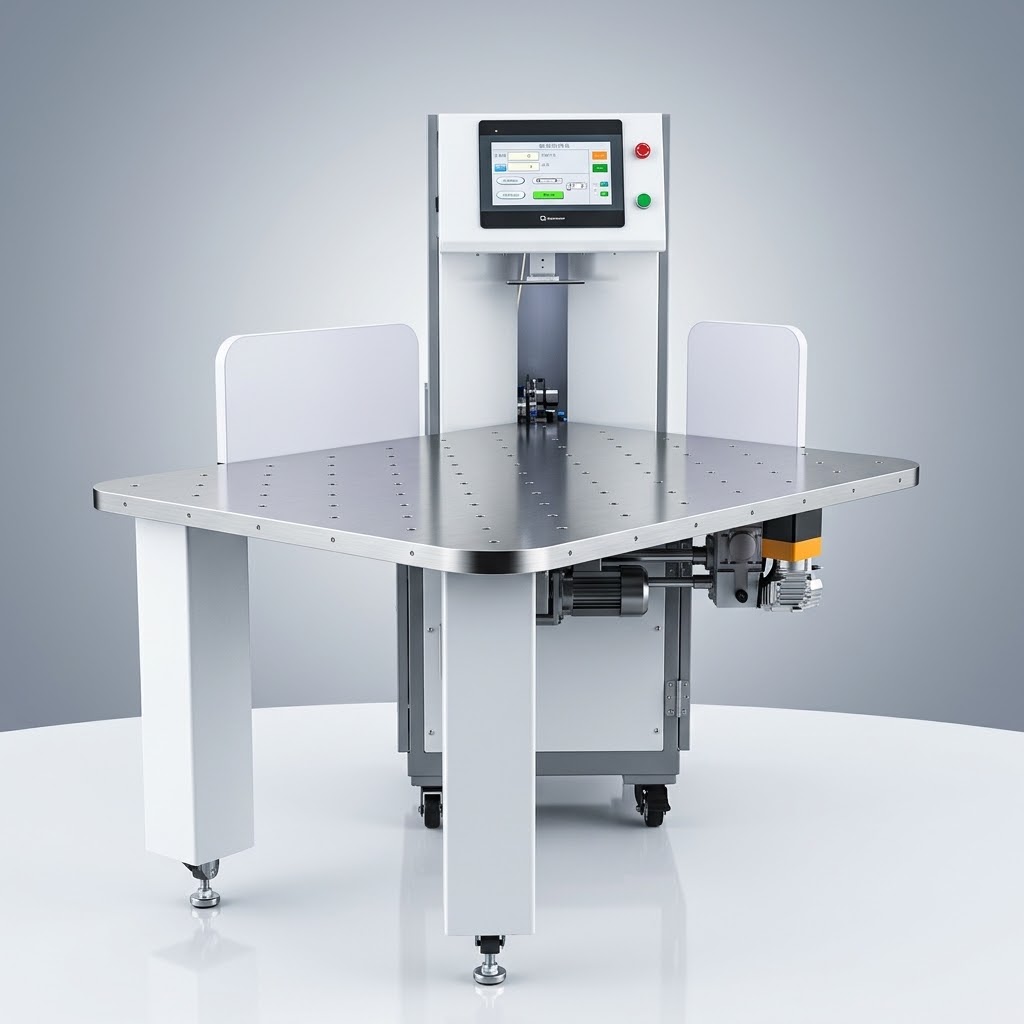
🌱Clear the track. Pull the old tape completely out of the feed zone.
🌱Prep the new roll. Before dropping it in, check the edges of the tape. If the roll was crushed or deformed in storage, gently pat it flat with your hands. Warped tape will inevitably catch in the guides.
🌱Load and route. Seat the new roll into the holding slot, matching the natural unwinding direction of the track. Peel off and discard the adhesive strip sealing the new roll. Route the tape through the guide rollers and push it toward the feed zone.
Crucial detail: The colored side must face up. If it goes in upside down, the optical sensor won't read it, and your batches won't be marked.
🌱Square the edge. Feed the leading edge directly up to the cutter blade. Trigger a cut to snip off the uneven end. You need a clean, straight edge to prevent feed errors.
🌱Align the sensor. Manually push that freshly cut edge slightly further into the feed zone just until the sensor picks it up. The moment the sensor indicator light flicks on, stop pushing. The machine is calibrated and ready to run.
🌱Equipment that works with you, not against you.Routine changeovers should be exactly that—routine. We design our paper counting machines for the people actually operating them, prioritizing durable parts and reliable sensors over finicky setups. Whether you run heavy cardstock or standard bond, precision shouldn't cost you downtime.
[Link: Explore our current lineup of high-precision paper counters]